Video ingest
PFClean has the ability to directly ingest video from a connected video deck. Both standard and high definition resolutions are supported via the video IO card with direct control of video decks available from within the PFClean user interface. This functionality is only compatible with Blackmagic Design playback devices and drivers plus AJA cards on Windows and Linux.
PFClean does not act like other video capture systems, creating independent files on the system, but imports video directly into the selected Media Bin. However, the video's audio can optionally be captured and dumped to file. PFClean does not use this audio in any way, but capturing it PFClean itself for use by 3rd party software can save the video being imported twice.
Selecting the Video button shows a split view with the Video tape controls at the top and the Media Bins underneath.
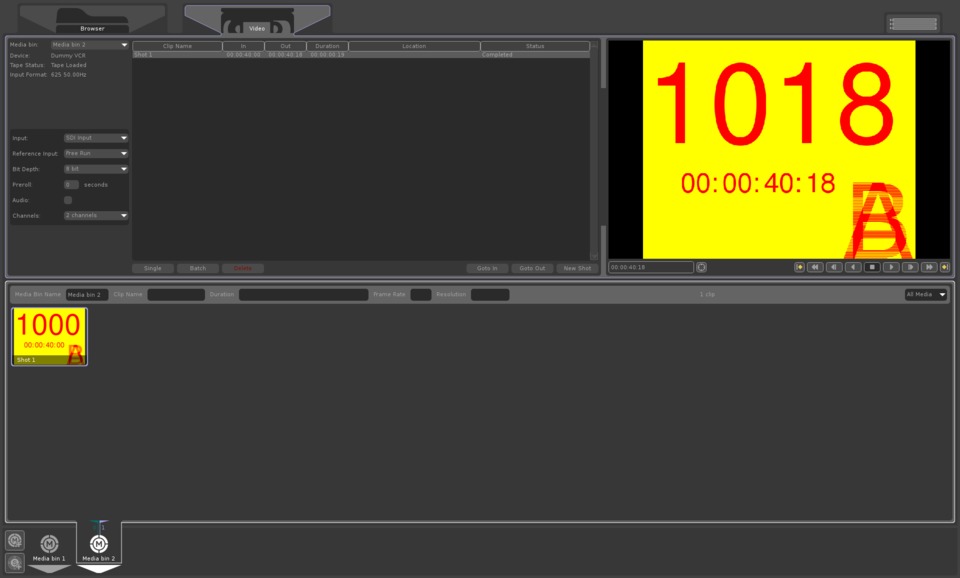
The left hand part of the video controls details the clips to be imported, the right hand side shows the frame at the point of the tape head. If the controls are disabled then no video deck has been found.
Importing video
The first step is to ensure that you have a tape loaded and the deck is switched on. Click on the Video button to display the Video controls and ensure the preview window is displaying the frame at the point of the tape head. PFClean supports two methods of import; from an EDL, or by setting up a manual import list using time code.
Before importing any clips, you may wish to set the deck Preroll. Also displayed is the video format which is detected from the SDI Input connector, and a further drop down menu allows selection of the reference sync signal to be used. In most cases you will have the Reference Input set to SDI In 1, although if a house reference signal generator is available, and connected, the drop down can be set to Reference In.
PFClean can work with a number of bit depths. You can switch bit depths for ingest using the drop down. In most cases you will want to maintain the native bit depth of footage to maintain quality.
Preroll defines the number of seconds the video deck runs to get up to speed before capture begins. The amount of preroll will depend on the model and age of the deck.
The Goto In and Goto Out buttons will rewind or forward the deck to the appropriate point in the highlighted clip, to allow quick review of the clip on the video and to ensure the in and out points have been set correctly.
Once the clip is set up, use the Single button to import the highlighted shot(s) in the import list or the Batch button to import all shots in the list. Once import has started, the progress panel will appear and the status field for each clip will be updated as appropriate.
Clips can be deleted from the import list using the Delete button.
Once the import is complete clips will appear in the currently selected Media Bin and can be worked on in the normal way.
Importing using an EDL
Importing via an EDL allows you to import a number of shots from a number of sources. This can be very useful when material is stored on several different tapes. The EDL must be CMX 3600 compliant in order to be used within PFClean. The EDL will define the timecode and tape from which the material is to be imported. If several tapes are defined a prompt will be displayed when a new tape is required.
To import via an EDL first create a smart bin and drag an EDL into it (as described later in this chapter). Then, select this smart bin from the media bin pulldown. The EDL will be parsed and the import list populated.
Importing using a timecode
It is simple to import clips into a Media Bin using tape based timecode and/or visual reference. Several clips can be batch imported in this way either from the same or different tapes. Click the New Shot button to create a new shot in the import list. Both the start and end points for the clip (In and Out points) will be set to the frame currently displayed in the preview window.
If you know the timecode of the start and end point of the clip you require you can single click the timecode display in the import list and enter the required timecodes. Hit the Return key after entering the new time codes to confirm them.