Bucket management
In order to user your entitlements, they must be placed in an entitlement bucket. You can visit the PFAccount Admin Hub to create entitlement buckets, and place individual entitlements into buckets.
You can create multiple buckets if you wish, each containing a different set of entitlements. For example, if your company has offices in both London and Los Angeles, you can create one bucket for each office and place specific product entitlements in each, all from a single PFAccount.
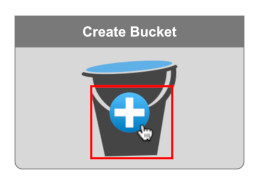
1. Create a bucket
To create a new entitlement bucket, log in to the PFAccount Admin Hub, open the 'Entitlements' page and click the 'Create Bucket' button:
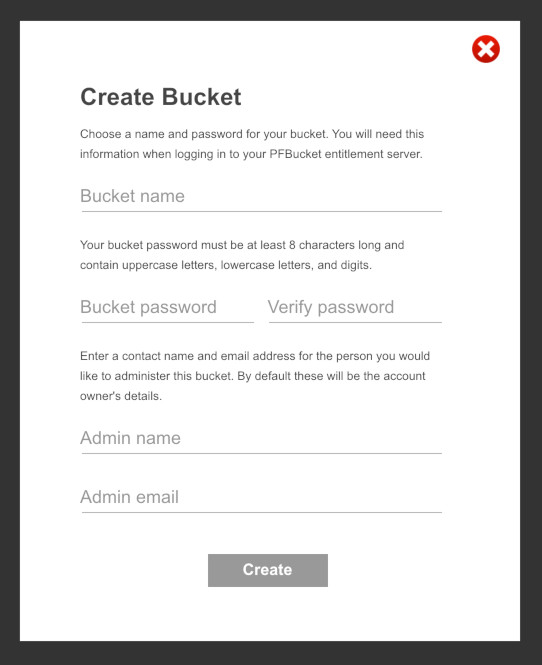
After entering your PFAccount password for authorization, you will be asked to enter a name and password for your bucket along with contact information for the bucket administrator. This contact information is only for your reference to help you manage multiple buckets if required.
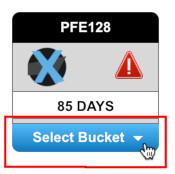
2. Place your entitlements into the bucket
You can now place your product entitlement into your bucket using the 'Select Bucket' menu:
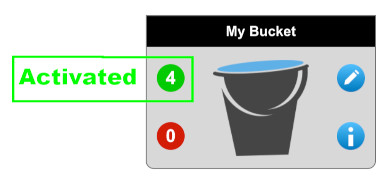
This will place your entitlement into your bucket, ready for it to be activated on your PFBucket server. The bucket icon indicates how many entitlements are activated, and how many are unactivated:
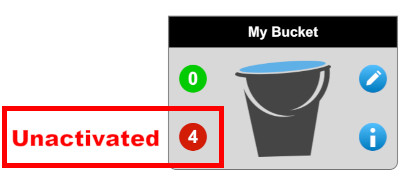
Once you have activated your entitlements on your PFBucket server, the icon will change to indicate how many are activated:
3. Editing buckets
You can get information about each bucket by clicking on the information button  , or edit your bucket details by clicking on the edit button
  .
.
If you wish to delete a bucket, you must first deactivate all entitlements on your server. Once that is done, click the edit button and an option to delete the bucket will be available.