


Error Messages
Cannot connect to The Pixel Farm's servers
The PFBucket desktop application requires a temporary internet connection for notifications, entitlement management, downloading installers and accessing administrator support.
If this connection cannot be made, an error will be reported.
To resolve the issue, make sure your firewall or network proxy is configured to allow the PFBucketd desktop app to communicate with The Pixel Farm's servers. Please see the Network Configuration page for more information about the URLs and ports that need to be opened.
You can check the general availability of our servers on The Pixel Farm website.
Failed to connect to PFBucketd
If this message appears when trying to log in using the PFBucket desktop app, it means that the PFBucket desktop app cannot connect to the PFBucketd server daemon over your local network.
This may be triggered in the following situations:
Your PFBucketd server is not running. You can check to see if your PFBucketd server is running by entering the server IP address and webport in a web browser, as described on the Server Status page and restart the PFBucketd server daemon to see if that resolves the problem.
Incorrect login credentials. Please check your bucket name and access code and try again.
Incorrect IP address of your PFBucketd server. Please check your Server Status to ensure your server is running with this IP address.
Network communication to your server is blocked. The PFBucket desktop app attempts to establish a standard two-way IPV4 socket connection to the PFBucketd server using the ports described on the Network Configuration page. Please ensure your network allows such connections to be made.
For further information on how to restart the PFBucketd server daemon, please see the Restarting PFBucketd page.
Failed to activate entitlements
When activating an entitlement, if a problem is encountered an error message will be displayed indicating why the entitlement could not be activated:
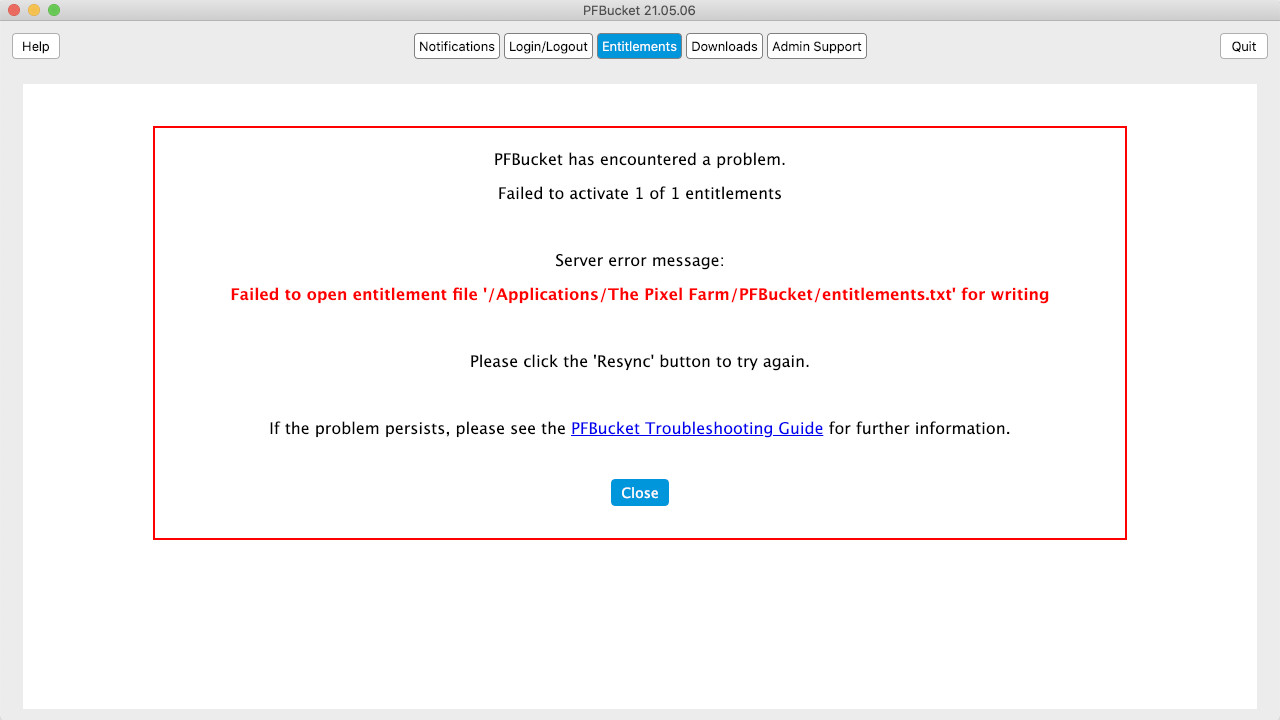
Usually, this problem indicates that the PFBucketd server daemon cannot write to the file containing the entitlement tokens, which is located at:
/Applications/The Pixel Farm/PFBucket/entitlements.txt
The PFBucketd server daemon requires administrator privileges to write to this file, so please check your server configuration to ensure this operation is allowed.
If the problem persists, the following steps should resolve the issue:
Quit the PFBucket desktop app and stop the PFBucketd server daemon (for instructions on how to do this, see Restarting PFBucketd
Remove
/Applications/The Pixel Farm/PFBucket/entitlements.txtfrom the machine where the PFBucketd server daemon is running, and ensure the daemon can write to the/Applications/The Pixel Farm/PFBucket/folder where it was installedStart the PFBucketd server daemon
Launch the PFBucket desktop app, log in and click the 'Resync All' button. Additional entitlements can then be activated individually if required.
Entitlements need resyncing
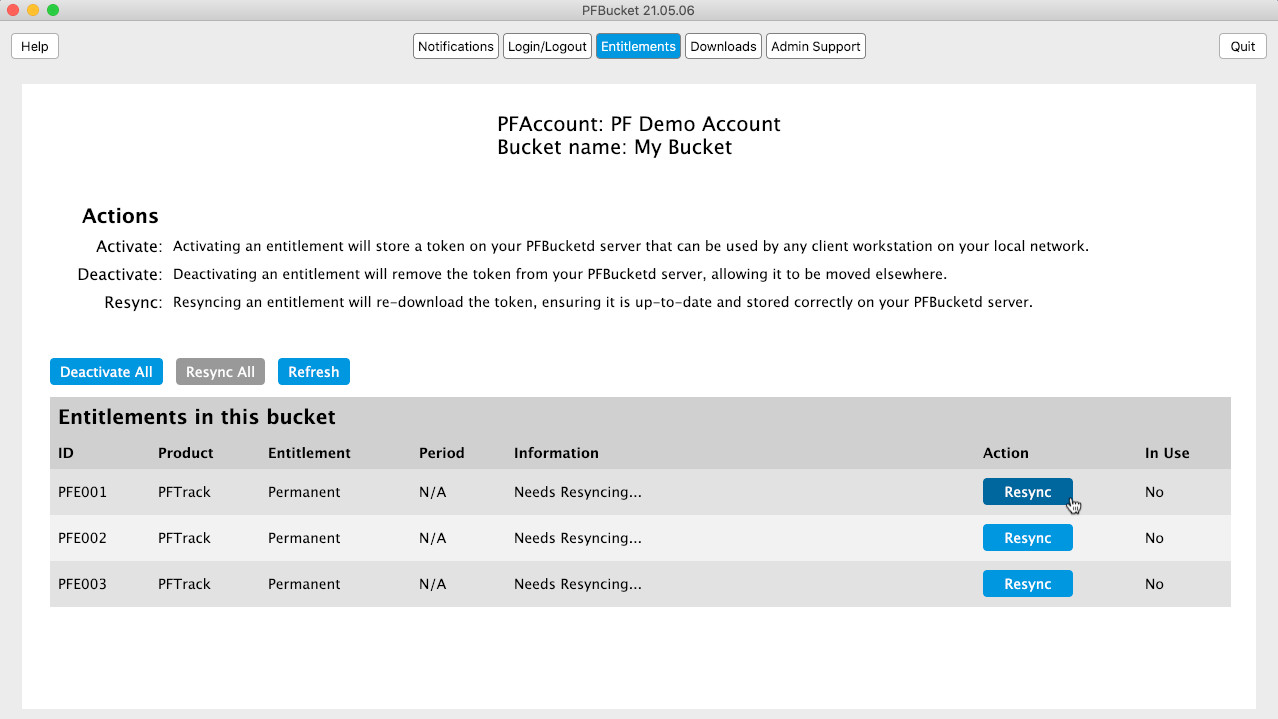
If the PFBucket desktop app reports that an entitlement needs resyncing, this means the entitlement token file on the PFBucketd server at:
/Applications/The Pixel Farm/PFBucket/entitlements.txt
has been removed, or is not up-to-date.
To resolve this issue, click the 'Resync' button next to each entitlement, or click 'Resync All' button to recover all your entitlement tokens and ensure they are up-to-date.
Failed to resync entitlements
When resyncing an entitlement, if a problem is encountered an error message will be displayed indicating why the entitlement could not be activated:
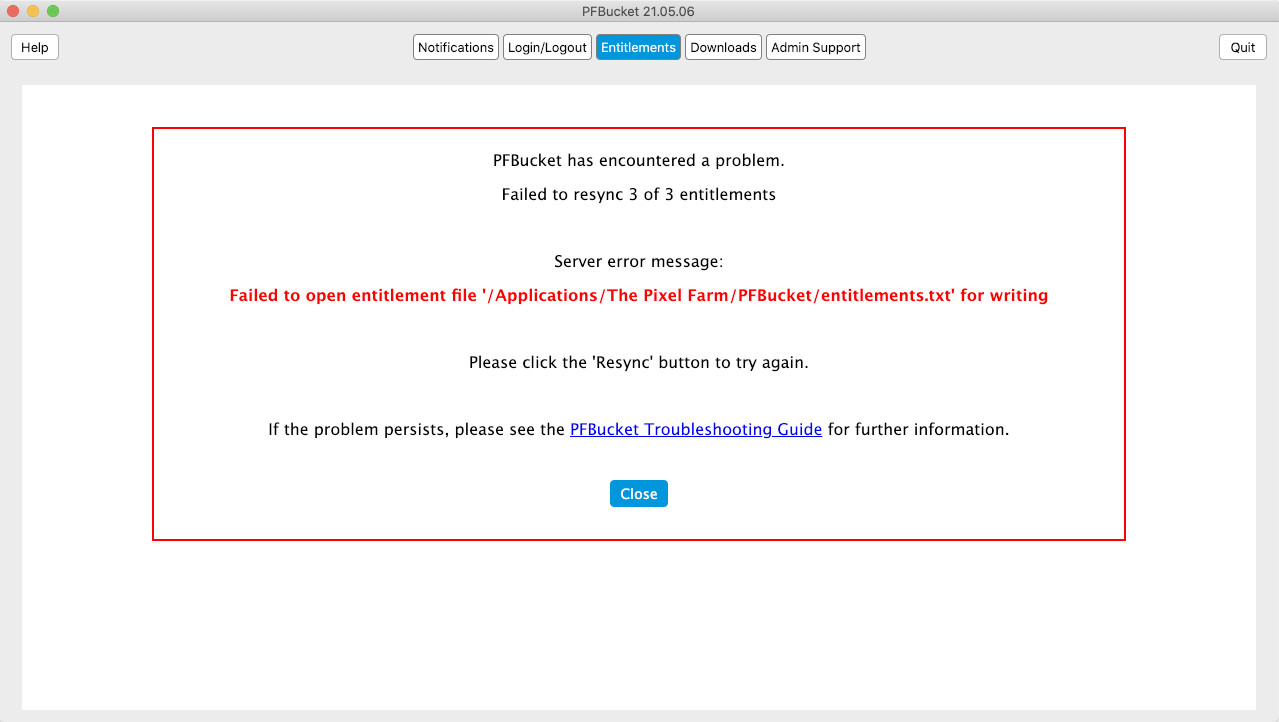
Usually, this problem indicates that the PFBucketd server daemon cannot write to the file containing the entitlement tokens, which is located at:
/Applications/The Pixel Farm/PFBucket/entitlements.txt
The PFBucketd server daemon requires administrator privileges to write to this file, so please check your server configuration to ensure this operation is allowed.
If the problem persists, the following steps should resolve the issue:
Quit the PFBucket desktop app and stop the PFBucketd server daemon (for instructions on how to do this, see Restarting PFBucketd
Remove
/Applications/The Pixel Farm/PFBucket/entitlements.txtfrom the machine where the PFBucketd server daemon is running, and ensure the daemon can write to the/Applications/The Pixel Farm/PFBucket/folder where it was installedStart the PFBucketd server daemon
Launch the PFBucket desktop app, log in and click the 'Resync' button next to each entitlement, or click the 'Resync All' button if it is available.
PFBucket has detected a problem
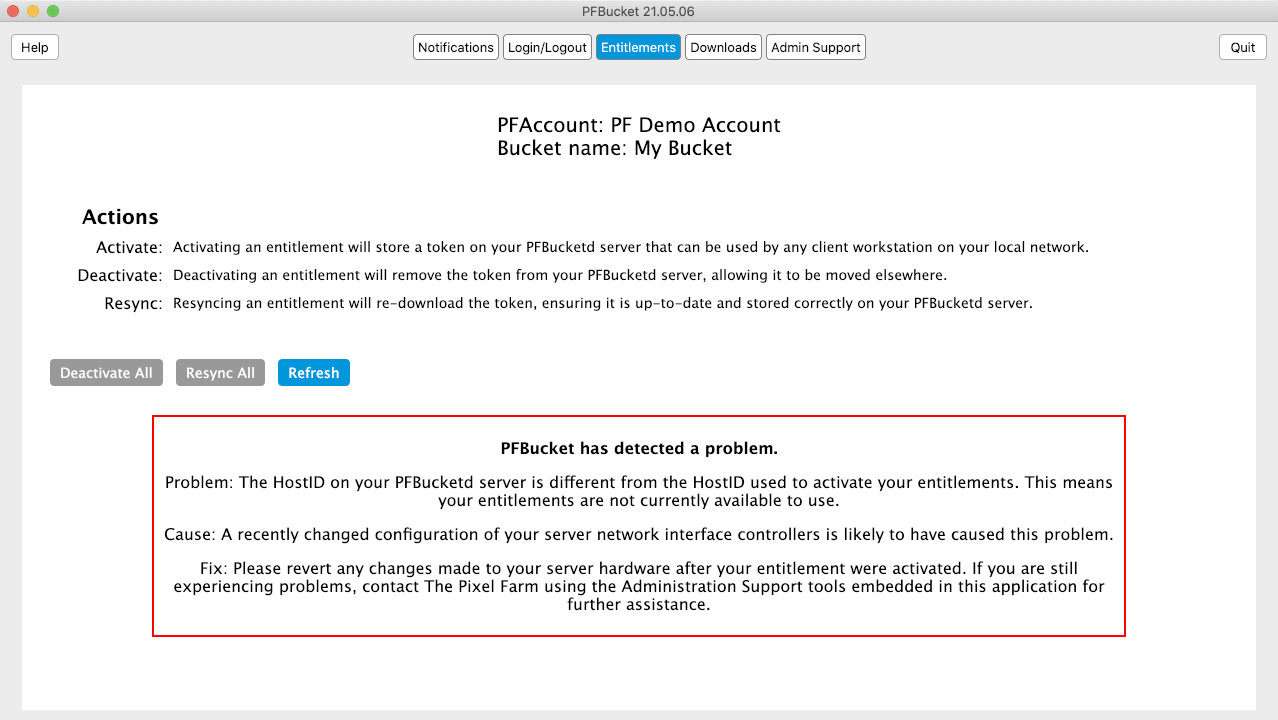
This error message can occur if the network configuration on your PFBucketd server has changed so significantly that the PFHostID of your PFBucketd server has changed entirely.
The HostID is an automatically generated twelve-digit code that is used to uniquely identify your PFBucketd server hardware, and is required to activate your entitlements.
To resolve this issue, revert any recent changes that have been made to the network interface controllers on your server and log in to your PFBucketd server again.
A hardware identifier cannot be found
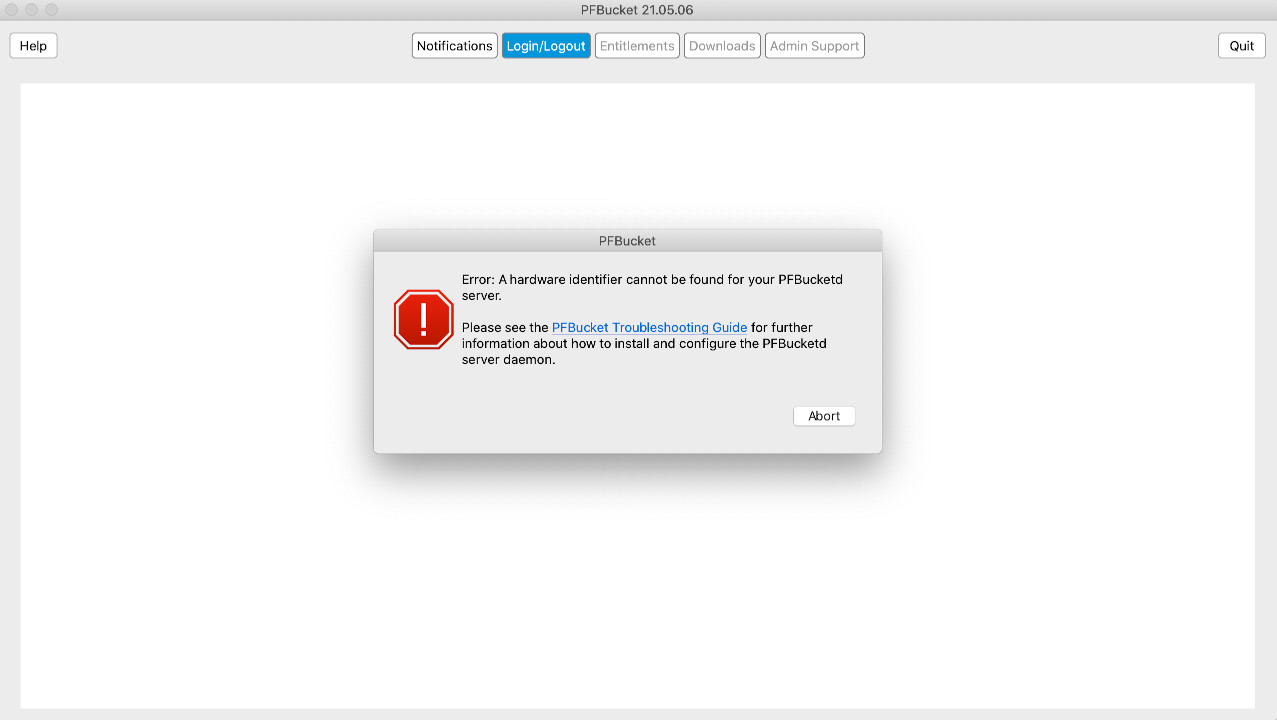
If an error message such as 'A hardware identifier cannot be found' is encountered, it means that PFBucketd cannot determine the HostID for your server hardware. The HostID is an automatically generated twelve-digit code that is used to uniquely identify your PFBucketd server hardware, and is required to activate your entitlements.
Please ensure you have an active network interface controller installed on your server with a valid physical address, and restart your PFBucketd server by following the instructions here.
We do not recommend or support the use of virtual machines or similar to host PFBucketd as these may not be able to provide a suitable hardware identifier.
PFBucket couldn't locate OpenSSL
The PFBucket desktop application relies on HTTPS to securely connect to The Pixel Farm's servers.
On Linux, this is implemented using the free OpenSSL library (version 1.1). If you do not have this version of the OpenSSL library already installed on your Centos 7 machine, please follow the instructions below.
Installing OpenSSL on Centos 7
The OpenSSL 1.1 library package for Centos 7 is available in the Extra Packages for Enterprise Linux (EPEL) repository. This is an open source and free community-based repository from the Fedora team.
If you do not already have this repository available on your machine, you can enable it using the following command:
sudo yum install https://dl.fedoraproject.org/pub/epel/epel-release-latest-7.noarch.rpm
You can then verify that the EPEL repository is enabled by listing all available repositories:
sudo yum repolist
Once the EPEL repository is available, install the openssl11-libs package as follows:
sudo yum install openssl11-libs
This will install libraries into /usr/lib64 and these will be picked up automatically when the application starts:
/usr/lib64/libcrypto.so.1.1
/usr/lib64/libssl.so.1.1
If you are having trouble installing OpenSSL 1.1, please consult your Linux system administrator or operating system documentation.